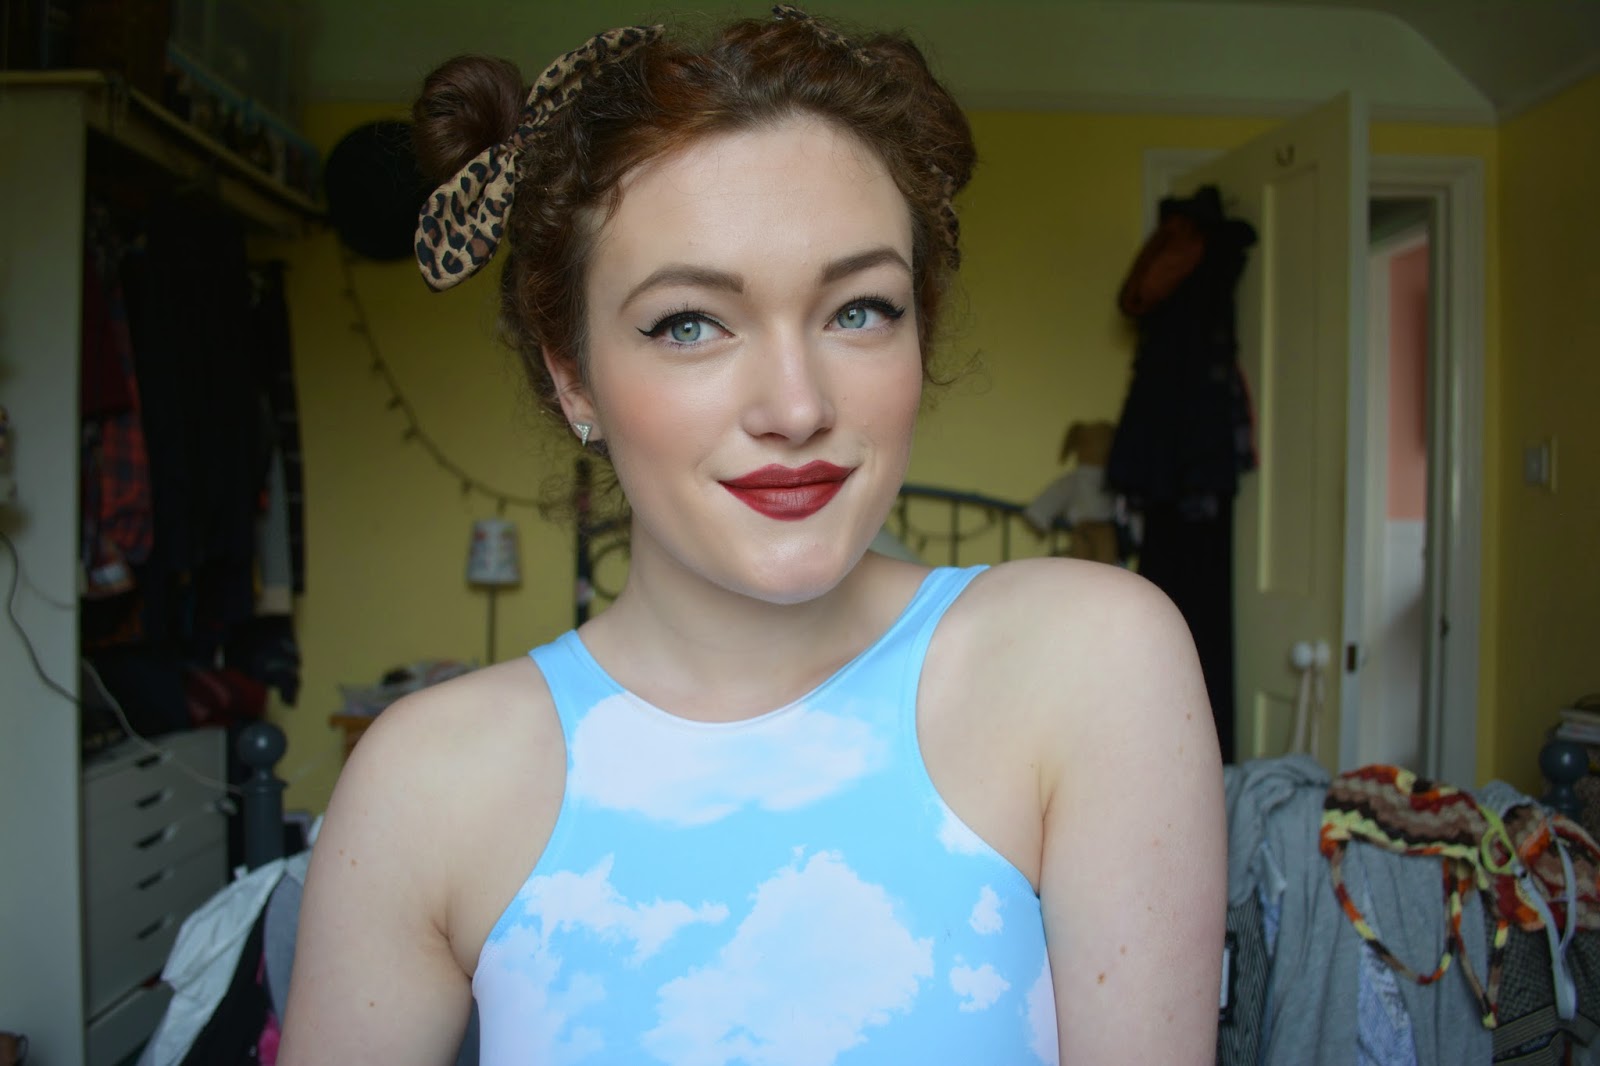
So the whole world seems to be obsessing over the 'Kylie Jenner Lip Challenge'. Well I thought I'd do a little blog post on how I achieve fuller, plumper looking lips, with out going to extreme measures.
Step 1 - Over Lining.
Step 1, over lining your lips. This is the most important step and is easy to get wrong. Start with drawing out side of your natural cupids bow, and the middle part of your bottom lip with a lip liner pencil. You them want to draw in the rest but making sure to stick to your natural shape. As if you over line the rest of your lips it can make you lips look to wide, and less realistic.
Step 2 - Contorting
Step 2, contorting. We all contour our faces but not many people think to contour there lips. Its a trick that has been used for years, Marilyn Monroe used it to achieve her put back in the 50's. So here I have taken a dark shade of red and put some on my lip brush and applied to the outer corners and around the edges. I think by doing this step I think you can really see the difference and your lips look instantly bigger.
Step 3 - Highlight
Step 3, adding a highlight. Using a lighter lip colour, apply to the center of your lips and try to blend out. This will make your lips look plumper and more full.
Step 4 - Matte-ify
Step 4, 'Matte-ifying' . After adding the highlight I felt my lips were to glossy so I used this Nars Blush to help tone down the shine. (not a necessary stage if you use a matte lip colour unlike me)
Step 5 - Another Highlight
Step 5, another highlight. After toning down the last highlight I needed to add a new one, I used a eye shadow as a high light and this works just as well as using a different red, so if you don't have multiple colours of red, skip step 3 and use a eye shadow instead.
Step 6 - Touching Up
Almost done! The final step, Tidying up. I used a eyebrow brush (I didn't have another small brush) with a my concealer to help tidy up the edges and define my lips. This is another really important stage that really makes a difference!


No comments
Post a Comment